A dry looking wall can still leave a homeowner uncertain about the material behind it. In Milton, home construction slowed after the 1960s, and nearly all housing was built before 2000. When an interior gets wet, the useful question is which layers need attention and which finishes can stay. A careful drying plan follows the actual assembly, from the visible face to the spaces underneath and behind it.
Key takeaways
- Photograph trim joints and finish condition before any removal starts.
- Ask for separate moisture observations for the surface and the material behind it.
- Keep sound decorative pieces labeled when temporary removal is necessary.
- Base equipment changes on repeat readings at identified locations.
- Arrange finish repairs after the retained materials have been checked for closure.
Start with the room that actually got wet
The housing history gives an owner a reason to pay attention to alterations, additions and overlapping finishes. An inspection should identify what is present in the affected room: painted wall surfaces, fitted storage, floor coverings and accessible cavities.
The assessment can then follow those materials instead of assigning a construction method from the building's age.
A room description is most useful when it connects visible damage to a location. A swollen trim joint beside a doorway, a darkened edge beneath a cabinet and a damp ceiling below the room describe different inspection points.
Clear labels help the team return to those points without repeatedly disturbing the same decorative surface.
The structural drying service addresses moisture remaining in the building after the water source is controlled. Early photographs should also capture undamaged adjoining finishes, including matching trim or flooring that can serve as a visual reference during later repair discussions.
- Identify the room and adjoining spaces.
- Note existing alterations visible at the wet area.
- Record decorative details before moving anything.
Follow connections between visible surfaces
Water at a wall base deserves attention on both sides of that wall when access permits. Liquid may have reached a floor edge or an adjoining closet before the visible face changed.
Technicians can compare those connected locations and mark the boundaries of the investigation on a simple room sketch.
Built in furniture can interrupt access to the lower part of a wall. The inspection plan should explain whether an accessible opening permits a useful reading or whether another approach is needed.
Moving a small removable component may reveal more than a broad opening made before the water path is understood.
A finish that feels dry should still be considered alongside the readings from its backing and surrounding material. When those observations disagree, the difference becomes a question for the technician to resolve.
The owner should receive an explanation of the next inspection point and the reason it matters before approving additional disturbance.
Choose access that serves a clear purpose
The goal of an opening should be stated before work begins. Access might allow extraction beneath a finish, inspection of a concealed space or airflow across a retained material.
The smallest practical opening depends on the assembly and water condition, so the proposal should name the surface involved and describe the intended benefit.
Trim selected for temporary removal can be photographed, labeled and stored where it stays protected from the wet work. Separate pieces should remain associated with their original room and position.
That organization helps a finish contractor assess reuse without guessing where an unusual joint or profile belonged.
The owner also needs a distinction between a piece removed for access and a piece judged unsuitable for retention. A removal list should record condition and purpose in ordinary language.
Items that need specialist assessment can be identified before the repair contractor orders replacements or closes the surrounding surface.
- Describe the cavity or edge that needs access.
- Label retained pieces by location.
- Photograph the opening after inspection.
- List replacement decisions separately from access work.
Match equipment to the exposed assembly
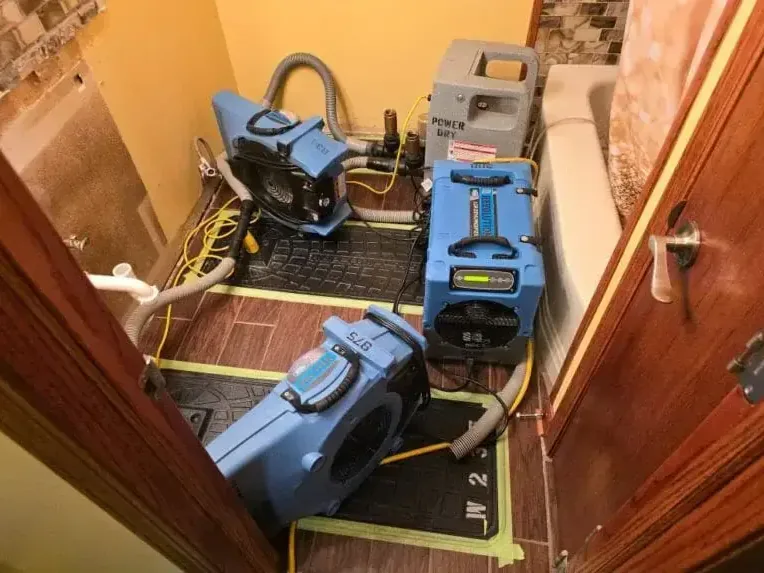
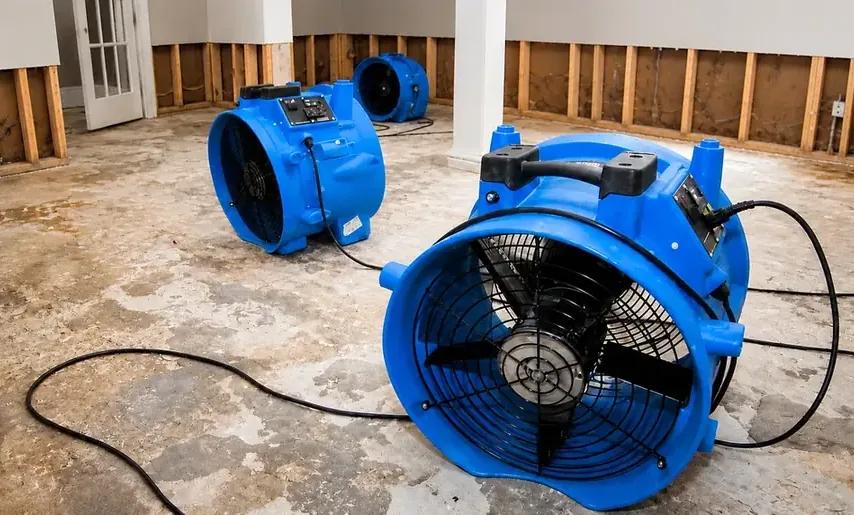
After recoverable water is removed, airflow and dehumidification support the materials selected for drying. The arrangement should account for the openings available, the room layout and the path occupants use to move through the home.
Cords and hoses need a planned route that does not turn a familiar doorway into an obstacle.
The setup can change as readings develop. A broad damp area may narrow to a stubborn edge beneath a fixed feature, shifting the attention from the whole room to that location.
A useful progress note connects the equipment adjustment to the material that still needs work.
Where pooling remains, water extraction comes before relying on room air treatment. The owner should be able to tell which equipment removes liquid and which manages the drying environment.
An equipment list becomes more understandable when each item has a room assignment and a stated purpose.
Protect daily routines around the work area
A home near Brush Hill may need the same practical access discussion as one at Milton Hill: which rooms remain available and which paths cross the drying area. Household routines should be explained at the initial visit so the team can account for sleeping areas, storage access and essential fixtures when arranging the work.
Small belongings can be grouped by the condition in which they were found and the room they came from. Dry items moved for access should remain separate from wet pieces awaiting assessment.
This prevents an owner from searching through a mixed pile later or placing a damp item against a finish already being checked.
Doors that form part of a controlled drying setup should be identified for occupants. The team can explain which changes would affect the arrangement and how to report a new drip or spreading stain.
Clear instructions reduce accidental interference while allowing the household to report changes promptly.
- Agree on an accessible route through occupied rooms.
- Keep moved contents labeled by original location.
- Record doors or openings used by the drying setup.
Read the progress record by material
A strong progress record distinguishes the wall, trim and floor rather than giving the entire room a single description. Readings taken at repeatable points show which component is changing and which needs another look.
The owner can ask for the point labels to appear on the room sketch or accompanying photographs.
Comparison locations should represent suitable unaffected material. A decorative surface and a different backing material may need different interpretation, so the technician should explain what each comparison means.
A clear explanation is more useful than a list of unexplained instrument values attached to the final invoice.
Visible finish changes also belong in the record. A joint that opens, a board that changes shape or a stain that becomes more apparent can affect repair decisions even while moisture readings improve.
Recording both appearance and measurements gives the next trade a fuller picture of the retained interior.
Schedule finish work around a documented handoff
Before an opening is closed, the team should identify the retained materials assessed and the final condition recorded at them. Remaining questions, such as an inaccessible edge or an outstanding source repair, should have an assigned next action.
The homeowner then has a practical basis for coordinating the finish contractor.
The repair list can distinguish reinstallation, surface preparation and replacement. Each task should refer to the actual piece or area involved, allowing a proposal to be compared with the initial photographs.
This is especially helpful when the owner wants a surviving profile or adjoining finish preserved during repair.
The local service area information helps connect the work to the property location, including Milton Village at Lower Mills. The project itself closes with room specific records: what became wet, what was opened, what was retained and what the next contractor needs to complete.
- Collect the final material readings.
- Keep photographs of concealed areas before closure.
- Identify the pieces ready for reinstallation.
- Give remaining repair items a clear owner.
Questions
Does an older interior automatically need extensive removal?
The inspection should determine the scope from water condition, access and the materials involved. An older finish can be evaluated for retention, with the reason for each proposed opening recorded before work proceeds.
Why examine the next room when only one wall looks wet?
Connected floor edges and shared wall spaces give technicians additional places to investigate. Comparing the adjacent area helps define where treatment should stop and prevents the work boundary from being set by appearance alone.
Can decorative trim be stored for later use?
Pieces selected for retention can be set aside in a protected location with labels showing their original position. Their condition should be reviewed again during the repair handoff so reinstallation decisions reflect the actual piece.
What should accompany the final drying invoice?
Room photographs, identified measurement locations, equipment notes and the outstanding finish tasks make the invoice easier to understand. Together they allow the owner and repair contractor to follow the decisions made during the work.