Ceiling Leak Water Damage in Milton, MA
A spreading ceiling stain can hide water above the room. Milton restoration pros check sagging finishes, trace the source upstairs and dry the affected cavity after the leak stops.
(888) 480-6221Check water above the room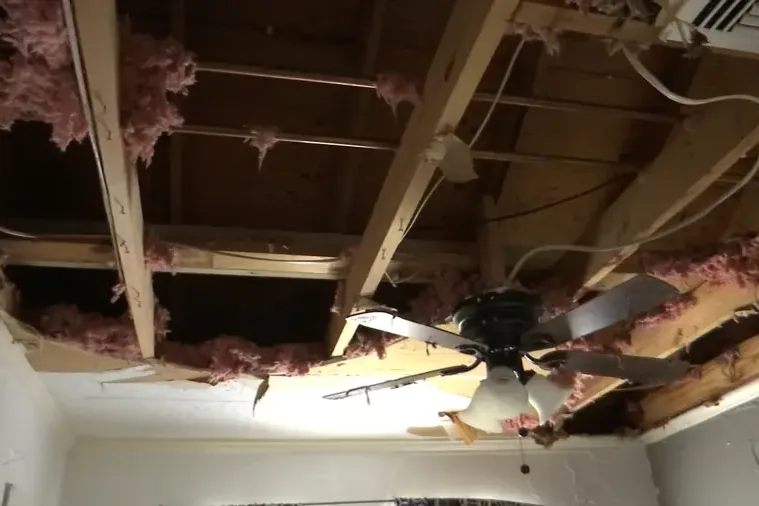
First steps for ceiling leak water damage in Milton
- Clear the area below
Keep people and pets away from bulging or sagging material. Move light belongings only when the surrounding area is dry and safe.
- Stop upstairs water use
Avoid using the suspected fixture until the source is assessed. A reachable supply valve can help isolate plumbing water without entering the damaged room.
- Leave wet fittings alone
Do not touch a light, fan or switch in the water path. An electrician clears the circuit before the crew handles nearby finishes.
- Describe the room above
Tell the response team about bathrooms, laundry equipment or plumbing over the stain. Include changes associated with water use and any active dripping.
What does ceiling leak water damage cost in Milton, MA?
Ceiling-leak restoration often ranges from $900 to $4,500 before major ceiling reconstruction or plumbing repairs. A small accessible patch costs less than soaked insulation, water around electrical fittings or damage across several connected cavities.
- Source-path inspection
- Limited opening
- Focused cavity drying
- Insulation removal
- Framing measurements
- Floor protection
- Broader controlled access
- Wall-top inspections
- Extended drying record
Cost factors: Water category, wet square footage, material class and the time before drying starts shape the scope. Access beneath cabinets, retained insulation and multiple affected levels increase the work.
Use the water damage cost calculator to compare conditions. These typical ranges are planning estimates, not a quote for the property.
How ceiling leak water damage proceeds
Trace the concealed route
The technician checks the stain perimeter and rooms above it, records the wet boundary and coordinates source diagnosis before deciding where access openings belong. The crew also checks whether a fixture or electrical fitting sits in the water route and needs clearance before further access.
Remove unstable material
The mitigation crew protects the floor and adjoining rooms, then removes weakened drywall and saturated insulation using controlled access that exposes the retained framing. The opening exposes the wet boundary for measurement while keeping occupants away from overhead debris and any remaining unstable ceiling edges.
Dry the ceiling assembly
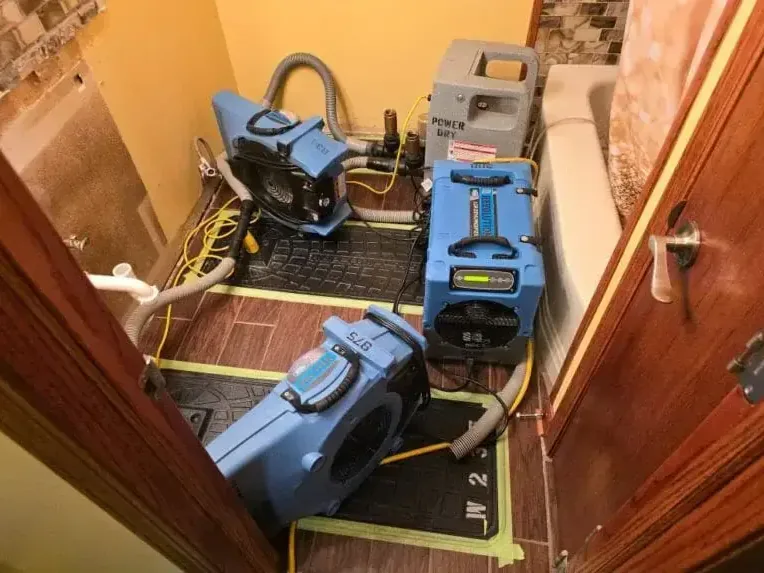
The drying team directs air through accessible cavities and captures evaporated moisture with dehumidification, checking framing and wall tops at repeatable measurement points. A marked inspection route makes it possible to revisit the same joists and cavity corners rather than comparing unrelated surface readings.
Prepare the closing record
The contractor confirms source repair and final moisture conditions, documents removed finishes and identifies the remaining electrical or finish work before the ceiling is rebuilt. The repair handoff identifies any remaining insulation, fixture or decorative finish tasks so new material does not conceal unfinished work above.
Water rarely follows a straight route from a leaking fixture to the stain below. A joist, pipe or ceiling seam can carry it sideways before it becomes visible. The restoration technician checks the space above the mark, the surrounding ceiling and the floor below, keeping people away from weakened material.
A sagging ceiling needs a clear room below it. Describe visible dripping and the fixtures or rooms above the stain.
(888) 480-6221Check water above the roomSeparating the source from the ceiling damage
A ceiling leak in Milton Village may begin at a bathroom, appliance connection or concealed supply pipe. The contractor asks when the stain changes and whether upstairs water use affects it. A plumber evaluates suspected plumbing failures while the mitigation crew documents the wet ceiling assembly.
- Keep furniture and occupants away from a bulging ceiling.
- Report water around a light fitting or ceiling fan immediately.
- Identify fixtures and rooms directly above the wet area.
- Photograph the stain from the doorway or another safe position.
Along Canton Avenue and around Lower Mills, the response team uses the property layout to plan access above and below the affected room. A finished surface can conceal insulation, framing and earlier repairs that need separate inspection.
Opening the ceiling with a purpose
The contractor evaluates stability and electrical hazards before removing drywall. Controlled opening can release trapped water, expose saturated insulation and create a drying route for the framing. The crew protects the room beneath the opening and keeps debris within the work area.
Water category influences which materials can remain. Saturated gypsum may lose strength, and wet insulation can hold moisture against wood even when exposed drywall begins to dry. The drying specialist records conditions before removal so the repair scope explains why particular sections came out.
- Safe electrical isolation comes before handling a wet fixture.
- The crew checks wall tops where ceiling water can spread.
- The floor receives moisture checks if drips or collapse wet it.
Closing the cavity after measured drying
Air movers and dehumidifiers dry retained structural materials after extraction and removal. The technician records cavity readings and compares them with suitable unaffected material. The repair contractor closes the ceiling after the source has been corrected and drying has reached its goal.
The EPA flooded-home cleanup information covers wet material handling. The Ready.gov emergency planning page helps households prepare a safe response and contact plan. An electrical or collapse hazard calls for the appropriate professional before restoration work proceeds.
24/7 dispatch supports urgent ceiling water damage in Milton. Describe the size of the stain, visible sagging and the room above it. Those observations help the team plan access without asking anyone to stand beneath a dangerous ceiling.
Ceiling Leak Water Damage and the IICRC S500 standard
Moisture measurements
The technician compares wet materials with an unaffected reference of the same kind. Surface touch alone cannot show whether the full assembly has reached its drying goal.
Equipment adjustment
The drying team records temperature and relative humidity, then adjusts airflow and dehumidification when a cavity or dense material stops improving. Equipment stays until readings support removal.
Written progress
The restoration contractor records the initial condition, removal decisions and final readings. A dated record helps the homeowner understand what remains before repairs close the affected area.
Safe work boundaries
The response team separates wet work from occupied rooms, checks equipment power requirements and keeps exit routes open. Occupants keep children and pets clear of hoses and cords.
Ceiling Leak Water Damage service in Milton
Water damage service covers ZIP 02186, including Brush Hill, Milton Hill, Milton Village and Lower Mills. Describe the building entrance and affected level when arranging access.
Ceiling Leak Water Damage questions in Milton, MA
Should a homeowner puncture a sagging ceiling?
A sagging ceiling can collapse and may contain wiring. Keep the area clear and have the condition assessed before touching it. The contractor chooses a controlled opening method after evaluating stability and electrical hazards.
Why is the stain away from the leaking fixture?
Water can travel along joists, pipes and seams before finding an exit through the ceiling. The technician follows the wet route above the stain rather than assuming the visible mark sits directly beneath the failed component.
Can the ceiling be painted after it looks dry?
The contractor checks the cavity and retained framing first. Paint can hide a stain while moisture remains above the surface. The source repair and measured drying finish should precede new finish work.
When does insulation need removal?
Saturated insulation can retain moisture and obstruct airflow. The contractor considers contamination, material type and access when choosing removal. The record should explain which insulation came out and how the remaining cavity was dried.
What if water drips through a light?
Keep clear of the fixture and switches in the affected area. Electrical assessment comes before restoration around the fitting. The crew can plan the cleanup once the circuit and work area are safe.
Does ceiling cleanup include fixing the upstairs leak?
Source repair and restoration are distinct tasks. A plumber or other appropriate trade corrects the failure; the restoration team handles extraction, damaged material removal and drying. The scopes need coordination before the ceiling closes.
Related water damage services
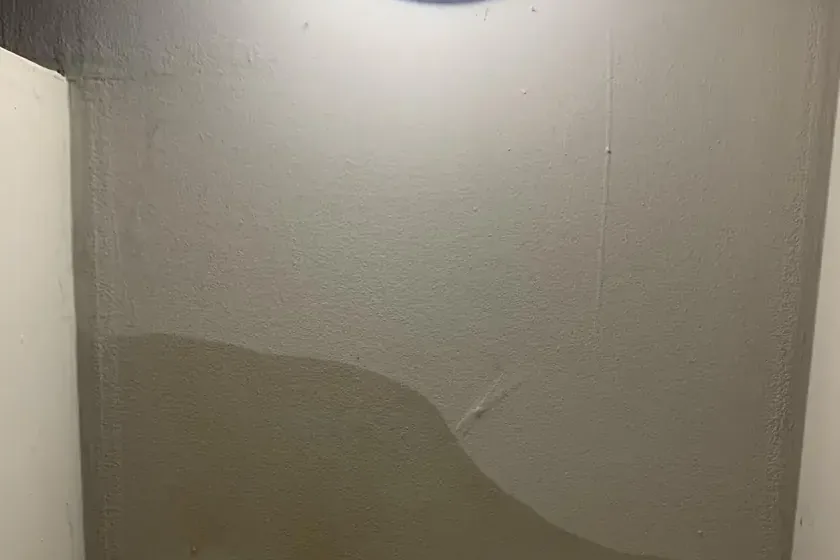

Keep the wet ceiling accessible for inspection
The restoration contractor checks the cavity and records drying before new finishes close it.